
 |
| It's a bit dodgy, this process. |
Trim ¼" off of the top edges of your jumpsuit's front and back body assemblies and serge the top edges again.
(This is because we use the same jumpsuit body pattern for our VOY and DS9/NEM duty jumpsuits, but on the former we use ¾" seam allowance at the top and 1" seam allowance on the latter.)
Unzip your jumpsuit so the top edges of the fronts are more easily accessible.
Open the facing again so that, if the jumpsuit were lying flat, all three panels (side front, center front, facing) are visible, right sides upward, and top edges even.

Place the front yoke upside-down on the front body assembly so that the bottom edge of the front yoke is flush with the top edge of the front body and right sides are facing.
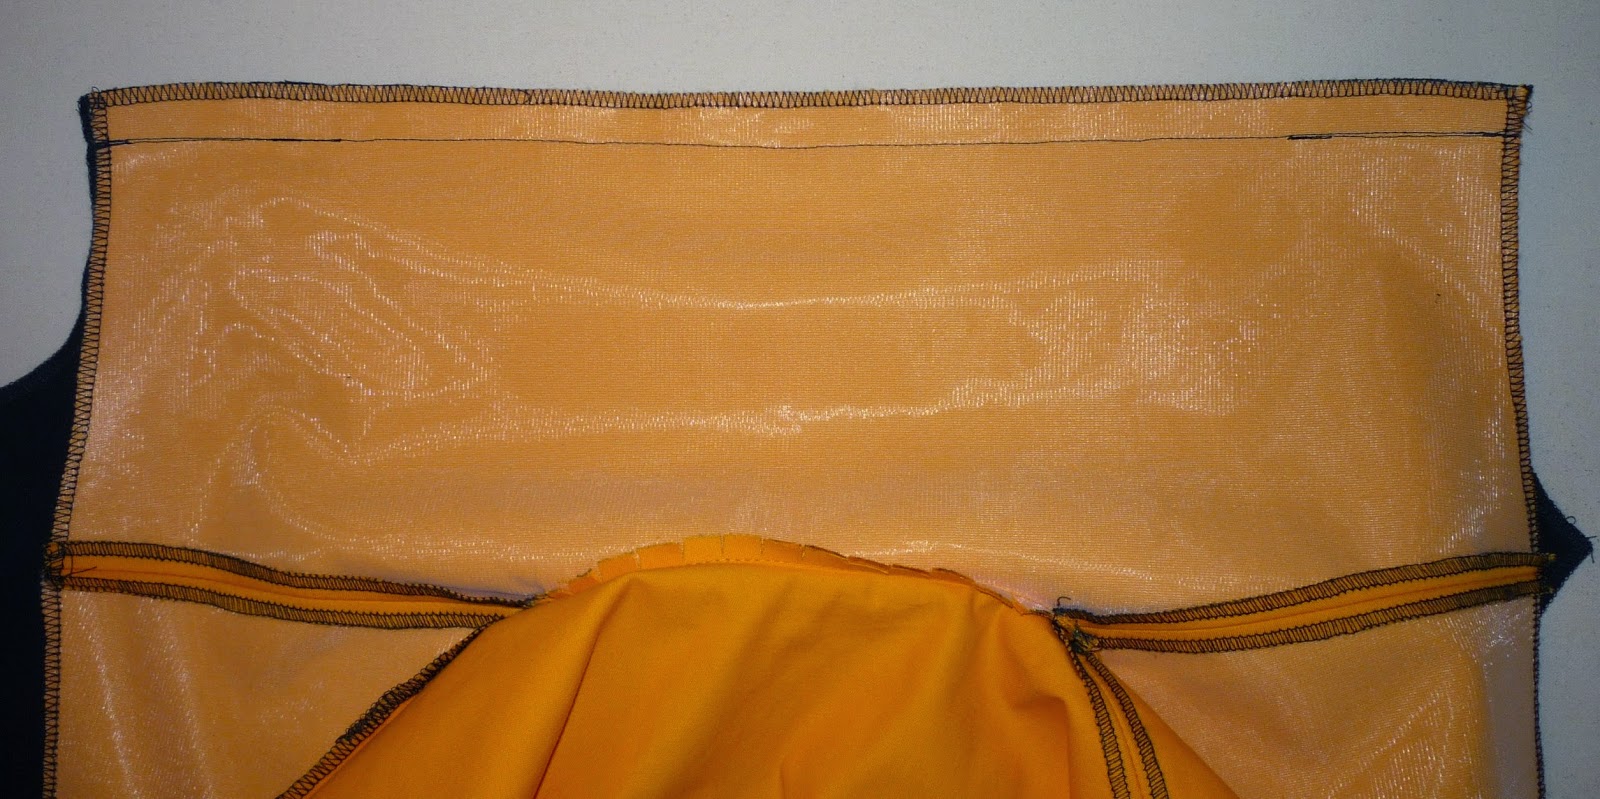
Pin ONLY the yoke (NOT the yoke facing) to the front body assembly, matching edges at the armscye and front opening. Open and rotate the yoke assembly a few inches so that the centermost portion of the yoke facing faces the body facing and continue pinning for the duration of the body facing.
Note that the bottom edge of the yoke facing will NOT be flush with the top edge of the body facing. It will be ⅜" away.

 Sew the front yoke to the front body with ¾" seam allowance.
Again, note that the bottom edge of the yoke facing will NOT be flush with the top edge of the body facing; it will be ⅜" away. Continue to stitch with ¾" seam allowance.
Clip the yoke seam allowance at the front opening seam line (shown with arrow) and press the yoke/body seam allowances open. Press the yoke facing/body facing seam allowances DOWNWARD, though.

 Turn the yoke facing/body facing under and press.
The yoke/body seam lines and front opening seam lines should match exactly.

From the right side (outside of the jumpsuit body), pin the yoke facing into place along the yoke/body seam line.

"Stitch in the ditch" using black thread from the right side along the yoke/body seam line to secure the yoke facing, leaving the outermost 2" or so free.
Repeat for the other side.

Note how this process distributes the bulk as evenly as possible and avoids having too much thickness accumulating in any particular area; Blackman & co. sure seem to have known what they were doing!
The process of attaching the back yoke to the back body assembly is slightly different, however.
Sew ONLY the back yoke (NOT the yoke facing) to the back body assembly with ¾" seam allowance in the same manner as done previously with the front (bottom edge of the yoke flush with the top edge of the back body assembly and right sides together). We recommend reinforcing the stitch line several times over the action pleats.
Press the seam allowances upward.
From the right side, pin the back yoke facing into place along the yoke/body seam line.

"Stitch in the ditch" to secure the back yoke facing as done previously with the front (using black thread from the right side along the yoke/body seam line, leaving the outermost 2" or so free).

TIP: Cut away the yoke/body seam allowances at the armscye above the stitch line to reduce bulk when attaching the sleeve later.

No comments:
Post a Comment